


MACHINE IS READY
TO PRINT
 Done
Done
Done
Done
Done
Done
Done
Done
Done
Done
Done
Done


Enter


 Do you want to enter graphic pattern
or additional information about the job?
Do you want to enter graphic pattern
or additional information about the job?


 Step back
Waterbase
Step back
Waterbase
 SQ/Fl
SQ/Fl
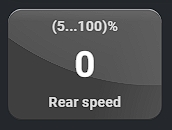
 Rear
Pressure
Rear
Pressure
 Index here
 Test
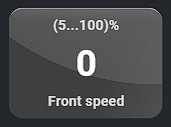
Front
Test
Front
 Copy to all
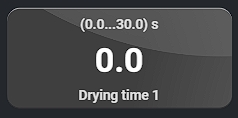
 Time 1/2
Step back
Preheat
Test
Index here
Warming
Copy to all
Time 1/2
Step back
Preheat
Test
Index here
Warming
Copy to all


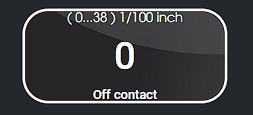
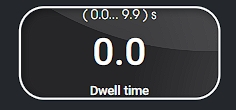
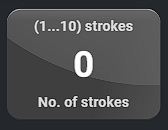
Welcome to Anatol’s all-electric VOLT press simulator! In the following tutorial, we’ll walk you through how to get the VOLT press ready for printing in Manual mode, including how to set your off-contact distance, dwell time, print head and flash head parameters, and more. Anatol’s exclusive Aries operating system is designed for maximum user-friendliness – we hope you enjoy giving it a test drive from the comfort of your own home or office!


.jpg)


Now you’ve successfully printed and flash cured your first shirt on an all-electric Anatol VOLT automatic press! Easy, wasn’t it?
Anatol’s VOLT press and Aries operating system were designed using feedback from screen printers like you to provide unparalleled ease-of-use and precise, full control over all job parameters.
The VOLT is the only professional-grade all-electric automatic screen printing machine in the world. It gives you maximum speed, power and dependability without the issues of pneumatic components, air compressor and chiller. Reliable servo motors and heavy-duty construction ensure years of consistent, high quality screen printing with minimal downtime and maintenance.
Available in configurations from 4 colors up to 18 colors and with four different maximum image sizes from 15” x 16” up to 20” x 28”, we offer VOLTs to fit shops of all sizes.
Contact us today to learn more about the VOLT and our full lineup of cutting-edge screen printing equipment:

 Index left
 Index right